 Synthera Docs
Choose a key that you do not normally use. After remapping it, the original function of that key will no longer be available while PowerToys Keyboard Manager is active.
Note
Choose a key that you do not normally use. After remapping it, the original function of that key will no longer be available while PowerToys Keyboard Manager is active.
Install Microsoft PowerToys
Open Microsoft Store.
Search for PowerToys.
Select Microsoft PowerToys from the search results.
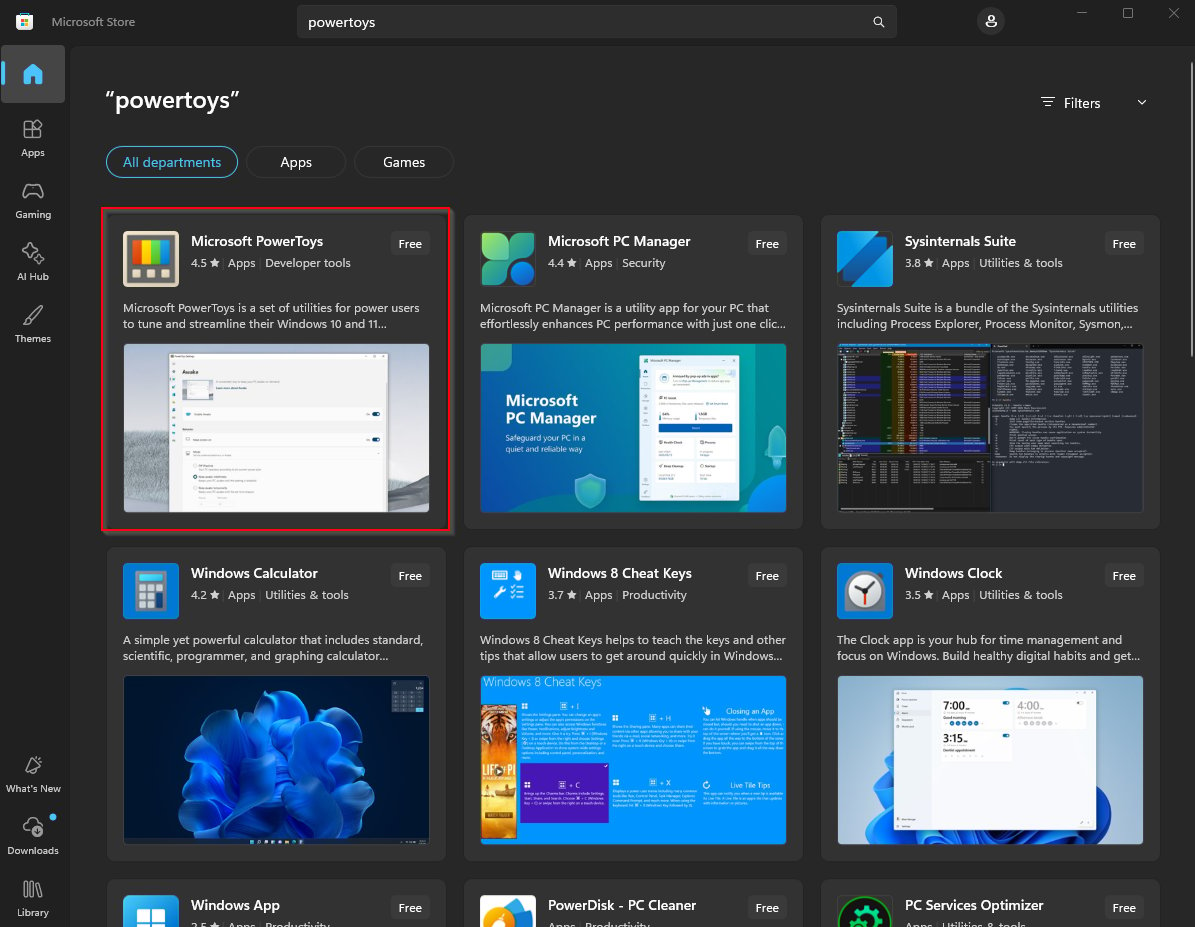
Click Install.
Once the installation is complete, open PowerToys.
Enable Keyboard Manager
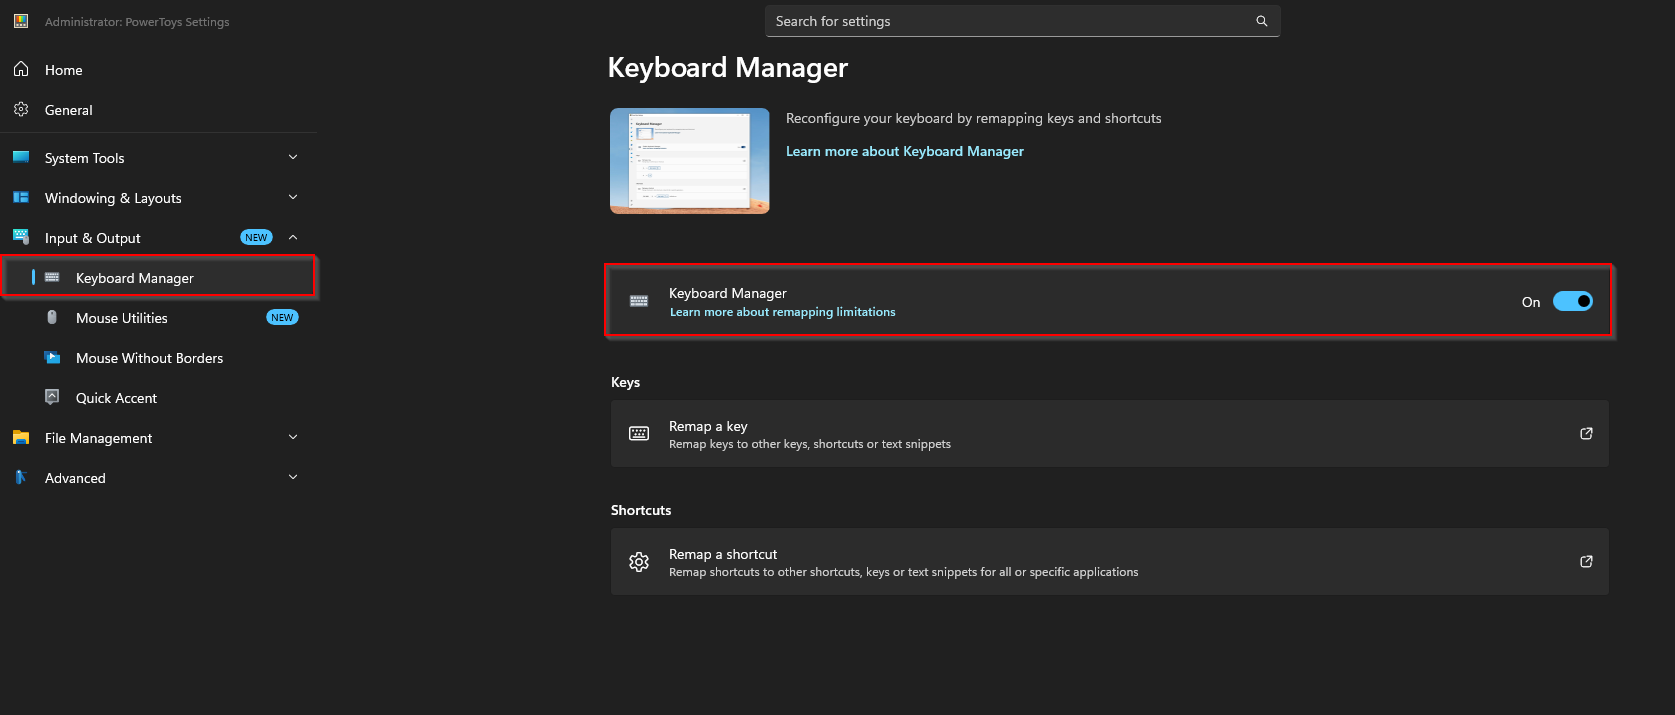
In Microsoft PowerToys, open Input & Output.
Select Keyboard Manager.
Enable Keyboard Manager.
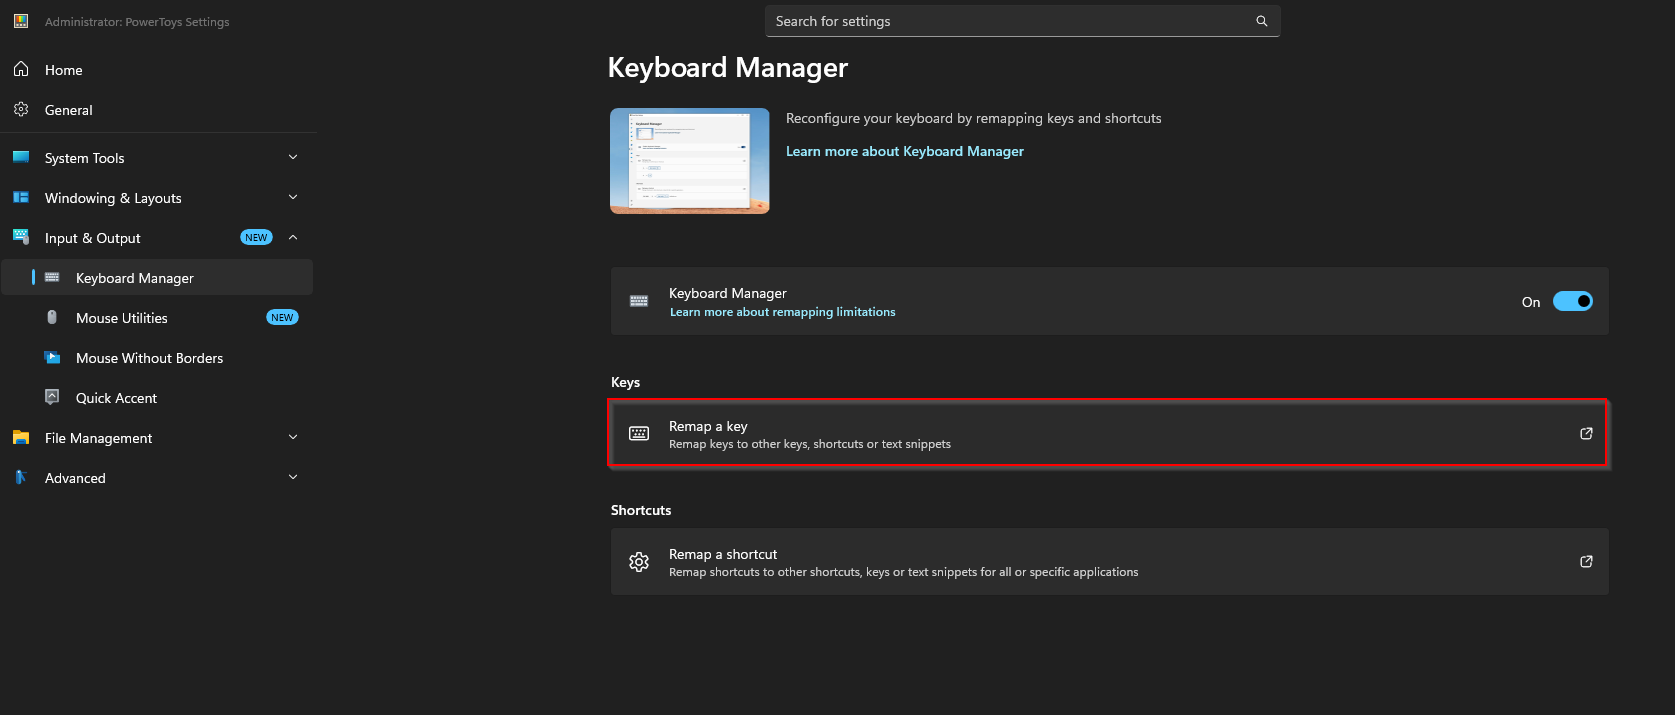
Click Remap a key.
Select the Key You Want to Remap
Click Add key remapping.
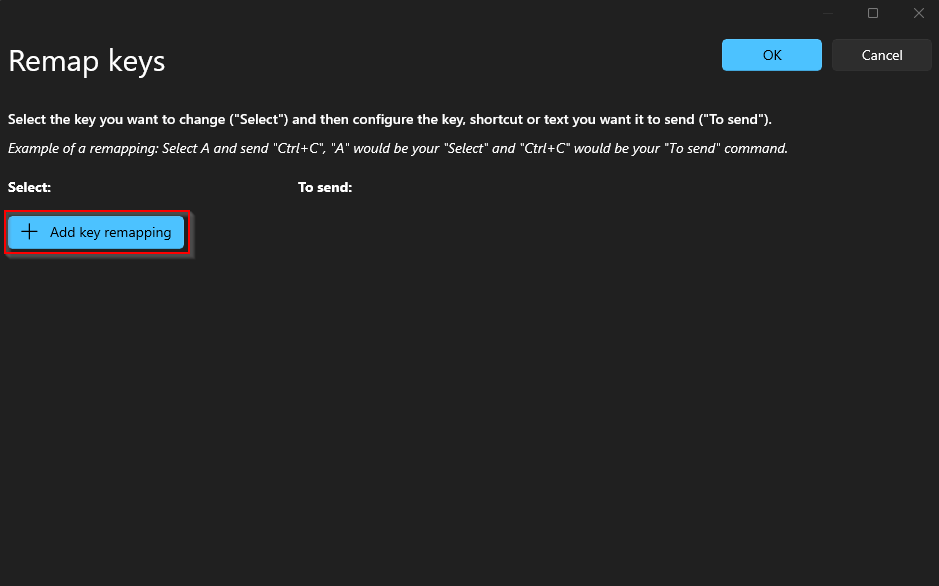
Under Select, click the Select button.
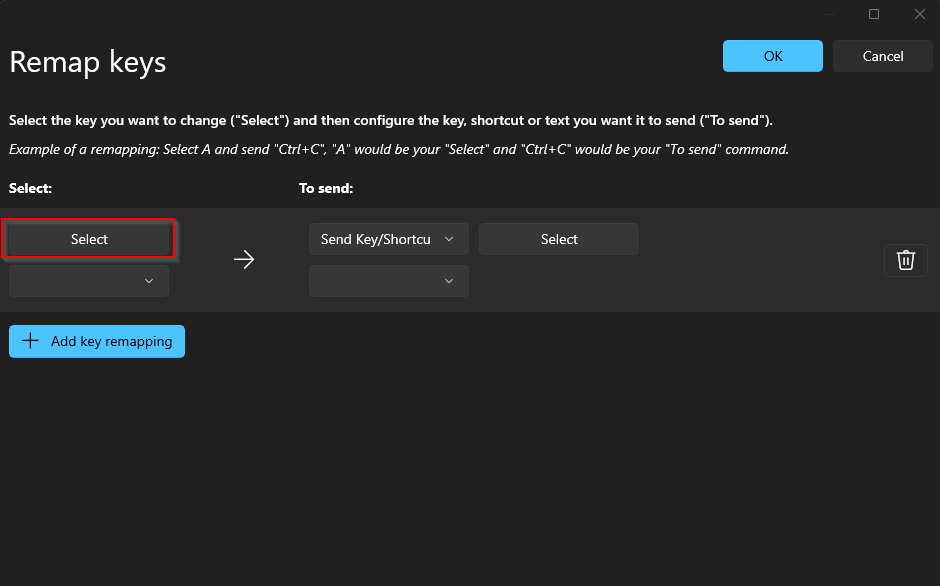
Press the key on your keyboard that you want to remap.
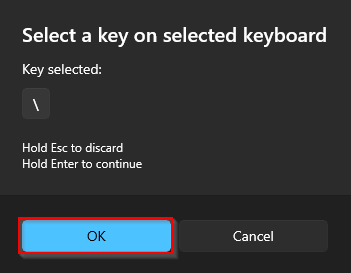
Confirm that the correct key appears under Key selected.
Click OK.
Note
Select a key you can safely replace. Avoid remapping keys that you regularly use for typing, Windows shortcuts, or game controls.
Assign the Insert Key
Under To send, open the key selection menu.
Select Insert. Depending on your keyboard and PowerToys version, it may appear as Insert (Numpad).
Check that your selected key points to Insert.
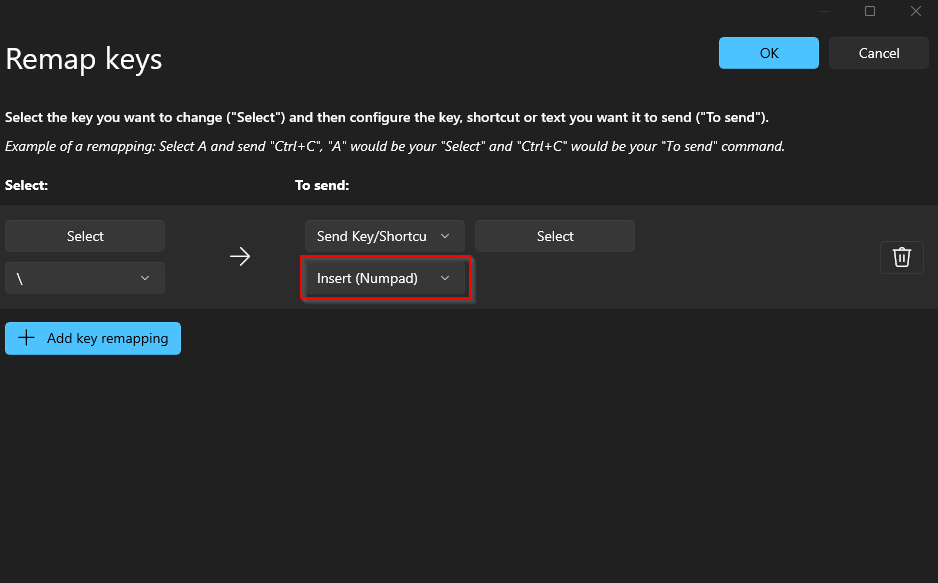
Click OK in the top-right corner.
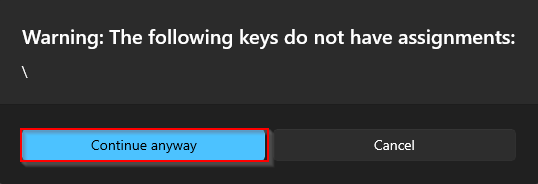
If PowerToys displays a warning that the original key does not have an assignment, click Continue anyway.
Test the Remapped Key
Press the key you remapped. Windows will now register it as the Insert key, allowing you to use it to open and close software menus.
Important
Microsoft PowerToys must remain installed, and Keyboard Manager must be enabled for the remapped key to work.